How to Set Up a Nuxt 3 Storefront with Medusa 2
A hands-on guide to connecting Nuxt 3 with Medusa 2: installation, CORS setup, SDK integration and building your first headless storefront.
Prerequisites
Before starting, ensure you have the following tools installed on your machine:
- Node.js v22+
- A package manager: Pnpm v9+
- Git CLI Tool
- PostgreSQL
Install Medusa
Follow the Medusa installation guide for detailed instructions. Here’s a streamlined version:
Create a Medusa Application
Run the following command to create a new Medusa application:
npx create-medusa-app@latest my-medusa-store
When prompted:
Would you like to create the Next.js storefront? You can also create it later.
Choose No. For this tutorial, we will use our custom Nuxt storefront instead.
Wait for the setup to complete. Once done, your Medusa app should automatically open a page in your browser, allowing you to log in to the Admin dashboard interface at http://localhost:9000/app.
- The Admin dashboard interface:
http://localhost:9000/app - API routes:
http://localhost:9000
Create an Admin User
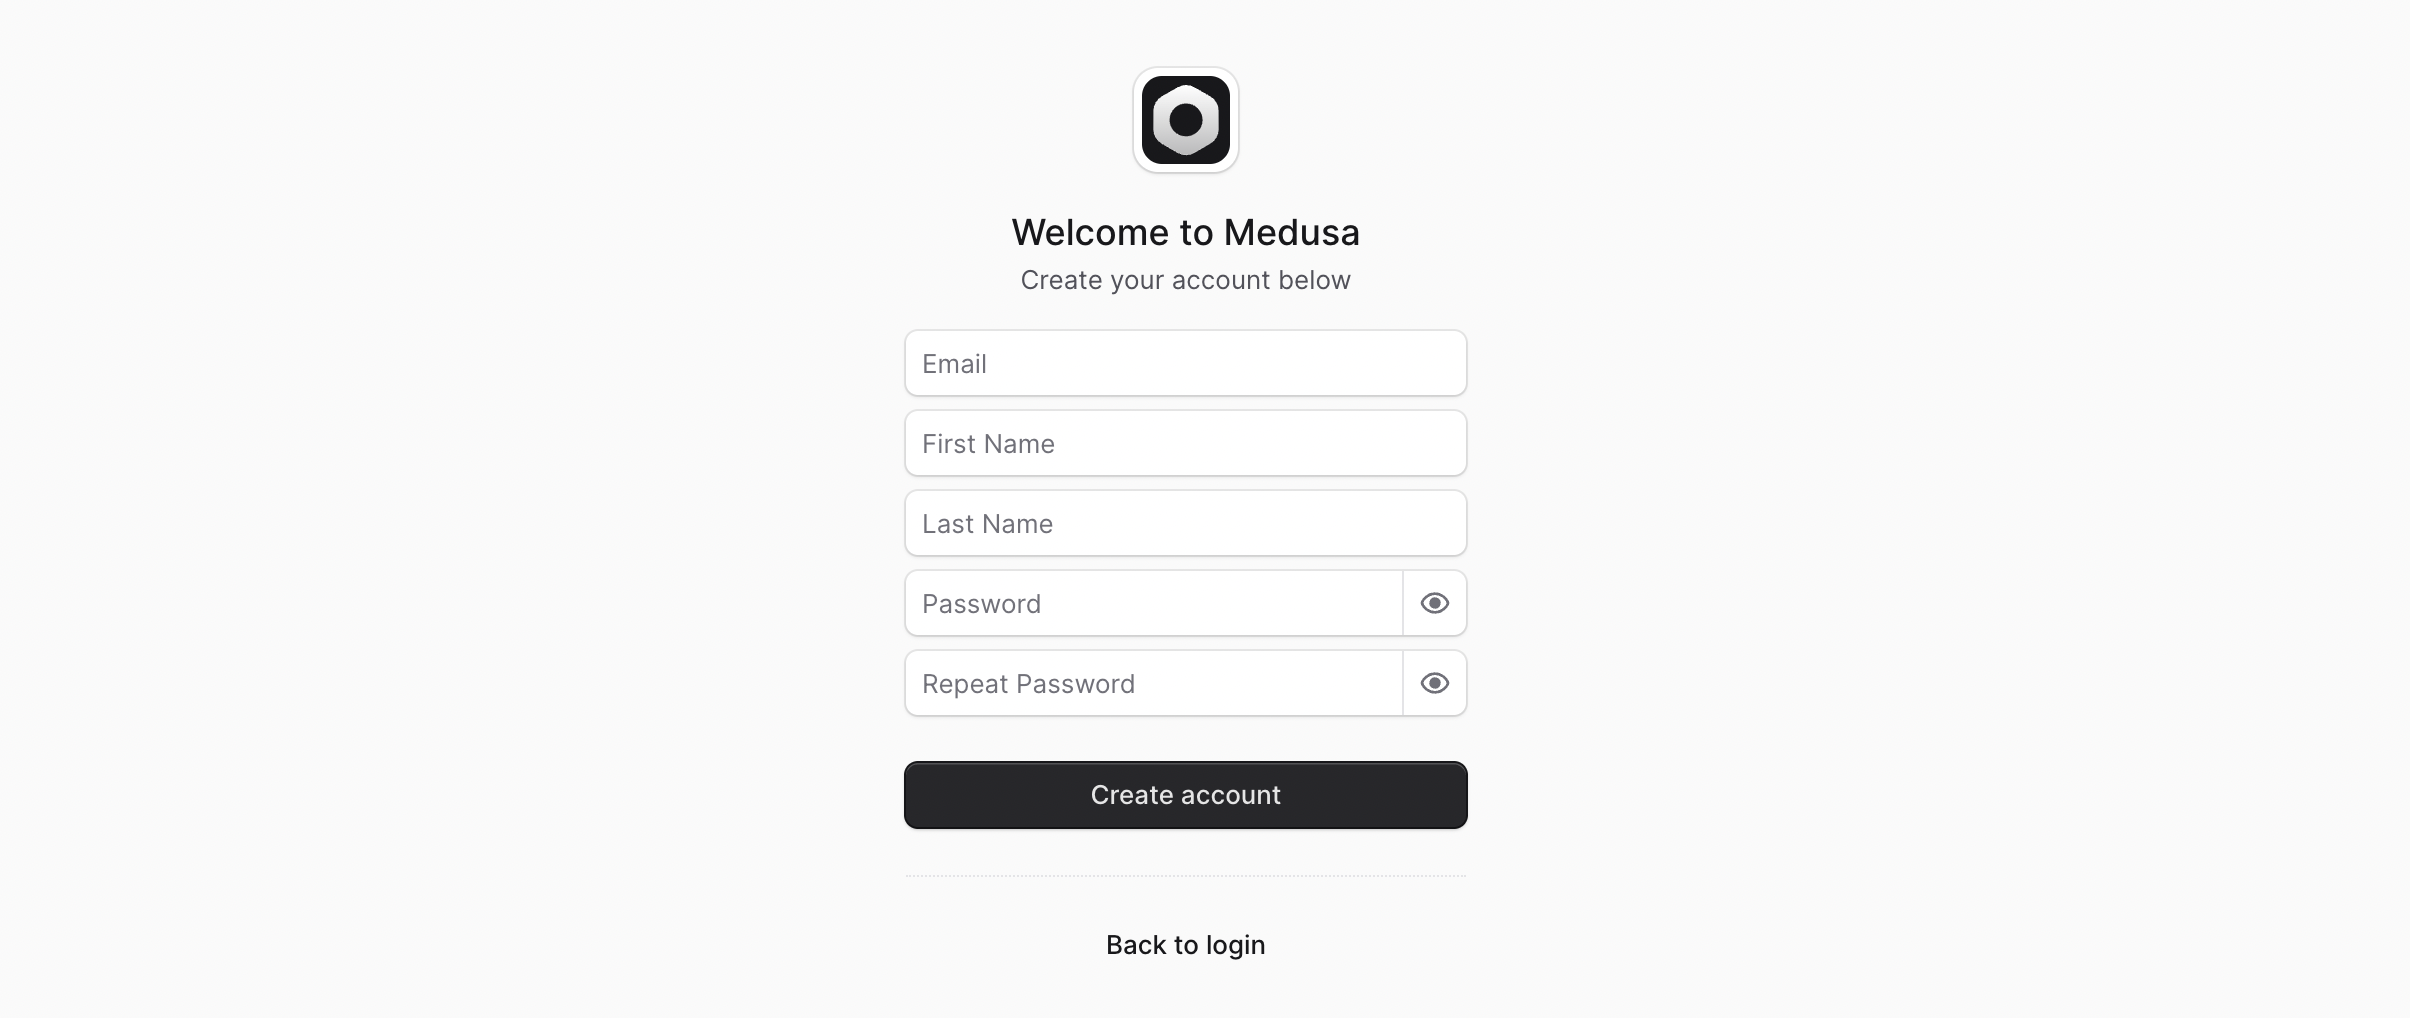
When the Admin dashboard interface loads, fill out the registration form to create your first Admin user:
Configure Your Medusa Application
This tutorial isn’t focused on Medusa configuration, but we’ll cover the basic setup needed for integration with our Nuxt app.
Update CORS Configuration
Open the .env file in your Medusa application folder and update the STORE_CORS key to include the default URL of your Nuxt app:
STORE_CORS=http://localhost:3000
This allows Medusa to accept API requests from http://localhost:3000, which is the default URL for a locally running Nuxt app.
Add a New Region
Navigate to Store Settings > Regions in the Admin dashboard.
- Click Create.
- Fill in the details for a new region, such as:
- Name: United States
- Currency: USD
- Country: US
- Payment Provider: Default option (e.g., Stripe if configured)
Create a Collection and Add Products
Navigate to Products > Collections.
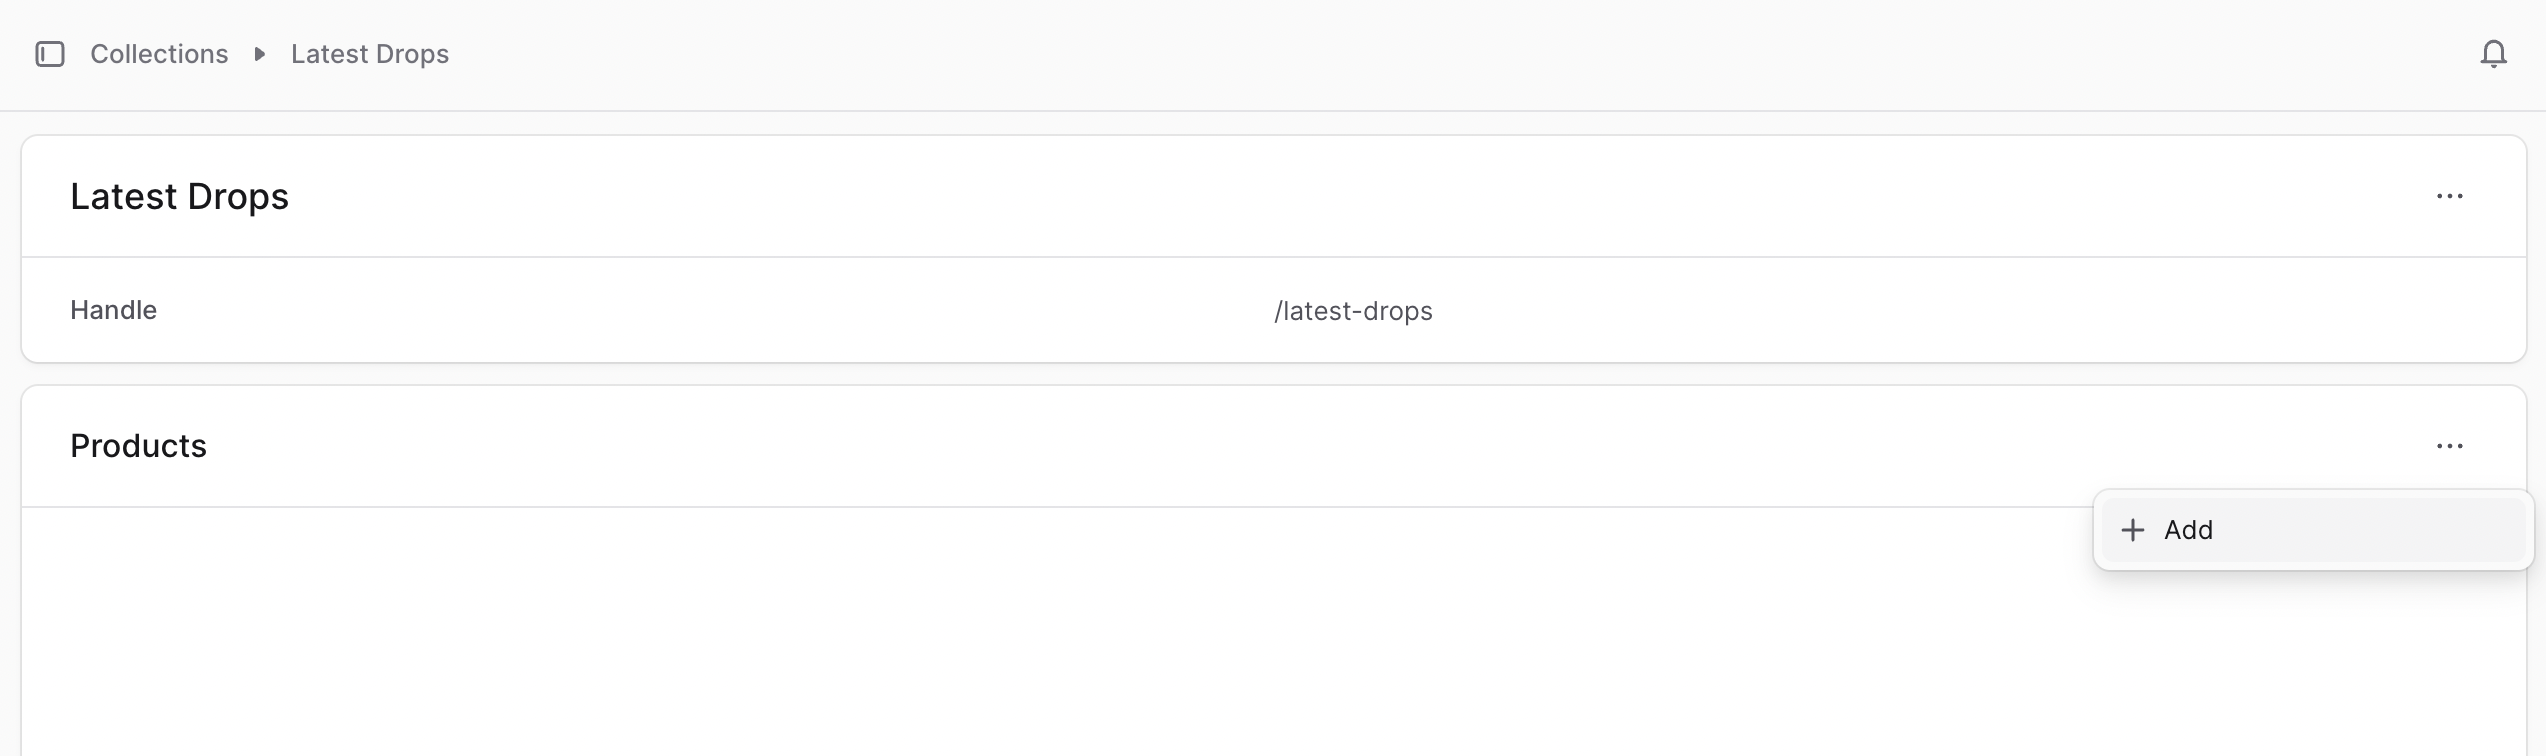
- Click Create to add a new collection (e.g., "Latest Drops").
- Add products to the collection. You can select the first 3 products as an example:
Install Nuxt v3 with v4 Compatibility
For detailed instructions, visit the Nuxt installation guide. Here’s a summary of what we’ll do:
Create a Nuxt App
pnpm dlx nuxi@latest init nuxt-medusa
Navigate to your application folder:
cd nuxt-medusa
Add Compatibility with Nuxt v4
- Create an
/appfolder and moveapp.vueinto this folder. - Update the
nuxt.config.tsfile:
export default defineNuxtConfig({
  compatibilityDate: '2024-11-01',
  devtools: { enabled: true },
  future: {
    compatibilityVersion: 4,
  },
});
Add ESLint with Stylistic Configuration
Follow the ESLint installation guide. I recommend enabling stylistic formatting:
Add the ESLint key to your nuxt.config.ts file:
eslint: {
  config: {
    stylistic: true,
  },
},
Add Nuxt UI v3
Nuxt UI v3 is a library based on Reka UI (formerly Radix-Vue) and serves as a great alternative since Medusa's UI library (based on Radix Primitives) is React-only. For installation details, visit the Nuxt UI v3 documentation.
Add Nuxt Image
E-commerce applications require optimized image handling. Use Nuxt Image for this purpose. Installation instructions are available here.
Nuxt Styling Configuration
- Replace
/app/app.vuewith the following:
<template>
  <UApp>
    <NuxtRouteAnnouncer />
    <NuxtPage />
  </UApp>
</template>
- Create an index page
/app/pages/index.vue:
<template>
  <div>
    <AppHero />
  </div>
</template>
- Create a Hero component
/app/components/hero.vue:
<script setup lang="ts">
const { title } = useAppConfig();
</script>

<template>
  <UContainer class="flex items-center justify-center h-screen bg-neutral-100">
    <h1 class="text-3xl text-primary-500 font-semibold">
      {{ title }}
    </h1>
  </UContainer>
</template>
- Add
/app/app.config.ts:
export default defineAppConfig({
  title: 'Nuxt Medusa Storefront',
  ui: {
    colors: {
      primary: 'blue',
      neutral: 'zinc',
    },
  },
});
- Update
/app/assets/css/main.css:
@import "tailwindcss";
@import "@nuxt/ui";

@theme {
  /* Declaring Font Sans */
  --font-sans: 'Inter', sans-serif;

  /* Extending default Tailwind utilities */
  --container-8xl: 90rem;

  /* Adding Nuxt UI color aliases to Tailwind colors */
  --color-primary-50: var(--ui-color-primary-50);
  --color-primary-100: var(--ui-color-primary-100);
  --color-primary-200: var(--ui-color-primary-200);
  --color-primary-300: var(--ui-color-primary-300);
  --color-primary-400: var(--ui-color-primary-400);
  --color-primary-500: var(--ui-color-primary-500);
  --color-primary-600: var(--ui-color-primary-600);
  --color-primary-700: var(--ui-color-primary-700);
  --color-primary-800: var(--ui-color-primary-800);
  --color-primary-900: var(--ui-color-primary-900);
  --color-primary-950: var(--ui-color-primary-950);

  /* Overriding Tailwind neutral color with the Nuxt UI neutral color */
  --color-neutral-50: var(--ui-color-neutral-50);
  --color-neutral-100: var(--ui-color-neutral-100);
  --color-neutral-200: var(--ui-color-neutral-200);
  --color-neutral-300: var(--ui-color-neutral-300);
  --color-neutral-400: var(--ui-color-neutral-400);
  --color-neutral-500: var(--ui-color-neutral-500);
  --color-neutral-600: var(--ui-color-neutral-600);
  --color-neutral-700: var(--ui-color-neutral-700);
  --color-neutral-800: var(--ui-color-neutral-800);
  --color-neutral-900: var(--ui-color-neutral-900);
  --color-neutral-950: var(--ui-color-neutral-950);
}

:root {
  /* Changing the default Nuxt UI container component size */
  --ui-container: var(--container-8xl);
}
Start Your Application
pnpm run dev
You should see your Nuxt app running with the configured theming:

Connect Nuxt with Medusa
Update Medusa CORS Configuration
Open the .env file in your Medusa application folder and update the STORE_CORS key:
STORE_CORS=http://localhost:8000,http://localhost:3000,https://docs.medusajs.com
Restart the server:
npm run dev
Add Medusa Publishable Key to Nuxt
Create a .env file in your Nuxt project:
NUXT_PUBLIC_MEDUSA_BACKEND_URL=http://localhost:9000
NUXT_PUBLIC_MEDUSA_PUBLISHABLE_KEY=pk_your_key
Replace pk_your_key with your Medusa Publishable Key, which you can find under Store Settings > Publishable Key.
Update nuxt.config.ts:
runtimeConfig: {
  public: {
    medusaBackendUrl: '',
    medusaPublishableKey: '',
  },
},
Create a Medusa plugin
Let's now create a plugin that let us use the Medusa SDK everywhere in our application.
First let's install the Medusa SDK
pnpm add @medusajs/js-sdk
pnpm add -D @medusajs/types
Create your Nuxt Medusa plugin /app/plugins/medusa.ts
import Medusa from '@medusajs/js-sdk'

export default defineNuxtPlugin(() => {
  const config = useRuntimeConfig()

  const medusa = new Medusa({
    baseUrl: config.public.medusaBackendUrl,
    debug: process.env.NODE_ENV === 'development',
    publishableKey: config.public.medusaPublishableKey,
  })

  return {
    provide: {
      medusa,
    },
  }
})
Let's now test our integration.
For this, just replace your /app/pages/index.vue with the following
<script setup lang="ts">
const { $medusa } = useNuxtApp()
</script>

<template>
  <div>
    <AppHero />
    <pre>{{ $medusa }}</pre>
  </div>
</template>
At the time of writing this article, we observe an error if we start your Nuxt app saying
nuxt request error unhandled 500 Cannot find module './stringify'
> To solve this, you should install [qs](https://github.com/ljharb/qs) library.

> ```bash
pnpm add qs
Let's restart our app, and you should see now all the Medusa SDK methods and properties displayed !
Conclusion
Congratulations! You’ve successfully installed and configured both Medusa and Nuxt for your storefront. Your environment is now ready for further development, where we’ll focus on building features, styling components, and connecting the frontend to the backend. In the next steps, we’ll dive deeper into creating dynamic pages and leveraging Medusa’s API for product and cart management.
Decode e-commerce tech
Clear insights to make the right technical decisions, even if you're not a dev.